This article about PHP Snippets Management applies to WordPress websites hosted on hostinger.com.
PHP snippets created with the “Code Snippets” plugin are stored in a table in the core WordPress database file.
PHP Snippets Management
To access these, login to your Hostinger account. Under “Websites” in the left panel, click on “Websites list”. From the website you wish to administer. Click the “Dashboard” button.
From the Dashboard screen in the left column, scroll down to and expand “Databases”. Click “Management”.
This will display the List of Current MySQL Databases And Users. By default, you will have only one database – the core WordPress database.
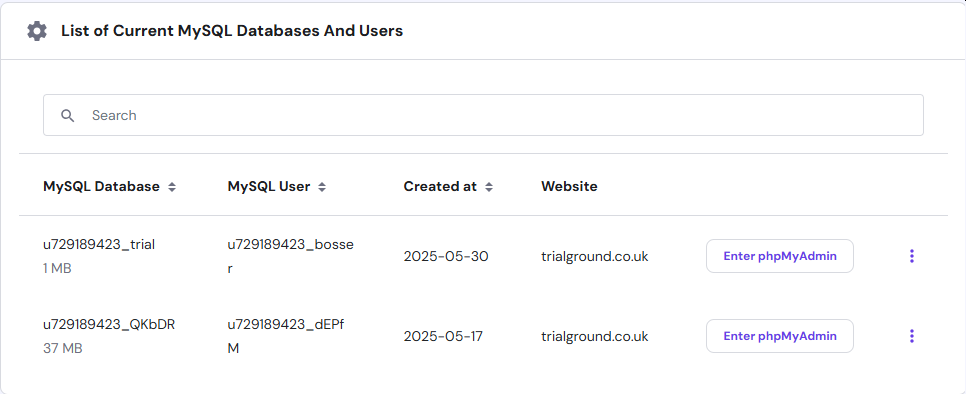
From the image, you can see that I have two databases, the second “u729189423_QKbDR” is the database that contains my website data.
phpMyAdmin Dashboard
Click on the “Enter phpMyAdmin” to display a scary-looking screen:
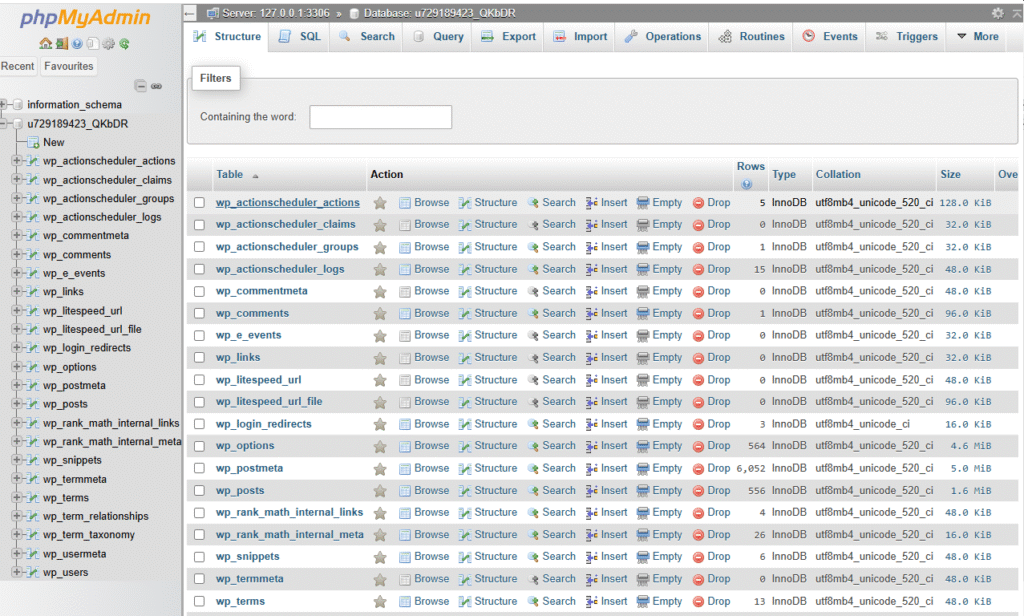
It’s only scary because it holds a lot of data. Don’t be put off. I will talk you through it step-by-step.
In the left column, you have a list of the tables in the database. We are only interested in one for this article “wp_snippets”.
Click this to show the contents of the table:

This shows a list of snippets held in this table. The last two entries are what we are interested in. “Echo Test” and “DB Connectivity” because these are the two snippets I created with the “Code Snippets” plugin.
It is my intention to delete the “Echo Test” entry but before I do this, it would be prudent to remove the post that calls the snippet.
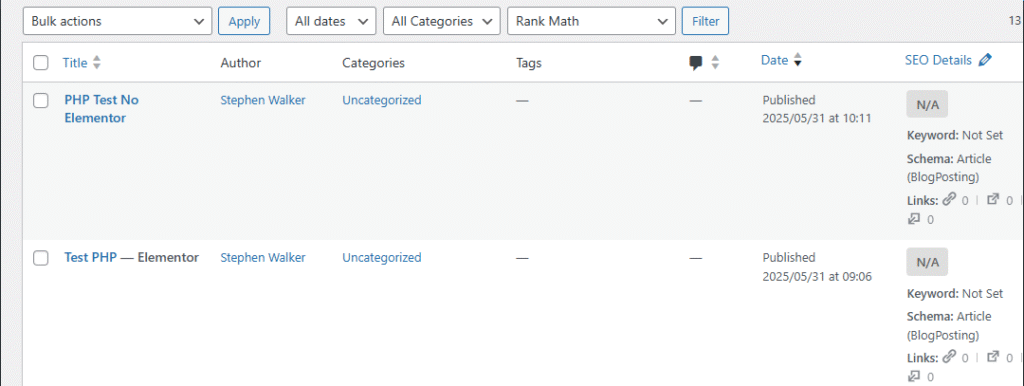
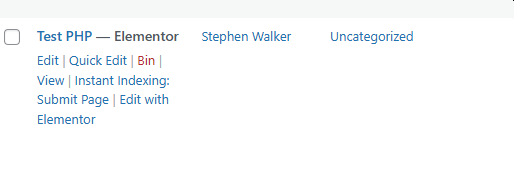
Fortunately, I remember that “Test PHP” is the imaginatively titled post in question.
Deleting a PHP Snippet
Hover over the post to reveal the post options and select “Bin”. Be careful with this option, as it is a guddle to get it back if you delete it by mistake.
After you have deleted the post, it is safe to go back to phpMyAdmin and delete the “Echo Test” entry.
Double-check that the website is still alive and that the post has now gone.
Deleting a PHP snippet is that easy even though it feels very scary. You are right to be scared, changing core WordPress settings can be very dangerous which is why I always test it on my test site first.
While we are logged in to phpMyAdmin let’s have a look at a PHP snippet.
From the list of PHP entries:
Hover over the “DB Connectivity” entry and select “Edit”. Scroll down to the third entry. This shows the PHP code of the snippet.
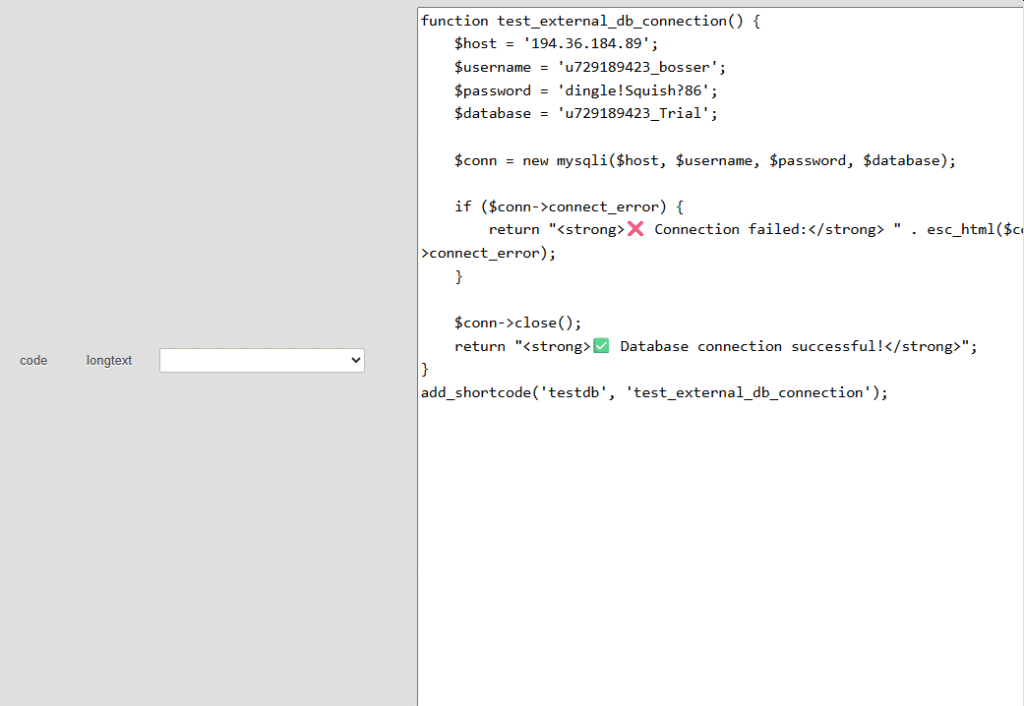
It is possible to edit the code from here, if you know what you are doing.
Scroll further down until you find the “Active” entry.

To deactivate the code change the value from 1 to 0
And save the entry.

To save your changes, scroll down and click the “Go” button.